This post continues from our main HDRI workflow article:
https://blog.polyhaven.com/how-to-create-high-quality-hdri
Some of my favorite HDRIs were shot in busy streets with crowds of people around, or with dramatic fast-moving clouds and rapid sunsets that might seem impossible to capture to those unfamiliar with the magic of masking.
Contrary to what you might initially think, these things are in fact fairly trivial to deal with as long as you’re aware of them and shoot carefully.
In a nutshell, you have four tools at your disposal:
- Timing your shots and planning for masking
- Shooting in order of priority
- Controlling control points
- Manual layer blending
Plan to Mask
When shooting in a busy street, tourist attraction, or any other location where there are people/cars/cats outside of your control, the easiest way to get rid of these elements is to shoot the same angle multiple times with the intention of masking out anything you don’t want.
If you can, take your time and be patient. Chances are those pesky tourists are going to move away after a while. Heck, maybe you could even ask them to step aside for a few seconds while you get that shot.
In a city street example, that traffic light is going to change sometime and you might get a lucky clean shot. But even if you can’t get a single clean shot, you can get a couple shots with fewer cars in them. With enough shots, you’ll likely be able to capture every part of your image cleanly, even if no single image is empty.
Worst case scenario, you may have some small areas that were never empty, but those can easily be filled in with inpainting.
Prioritize the Sky
For most HDRIs, the sky is what’s most important – it’s the part that’s generally most visible (not covered up by foreground CG elements) and emits the most light.
By the time you finish shooting the panorama, the light might be quite different than when you started, for example at sunset.
Maybe the clouds light up bright pink for only a few seconds, and you don’t want to miss that opportunity.
Start by shooting your upward rotation to capture the sky, and then work your way down. If the sunset happens to get even prettier while you are shooting, you can always stop and start again from the top.
By the time you finish, the sun may have completely set and the ground could now be darker than before. This is mostly unavoidable, but it’s better if the ground in your final HDRI is slightly inaccurate (which most people won’t be able to tell) than missing the glorious sunset entirely.
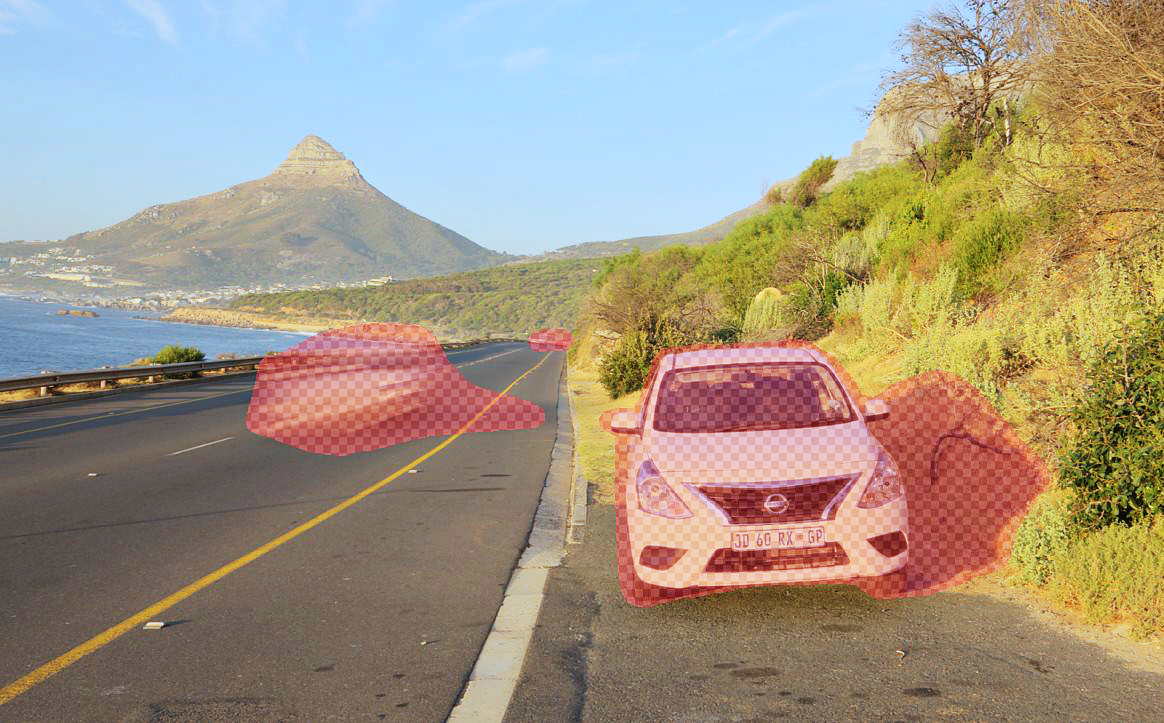
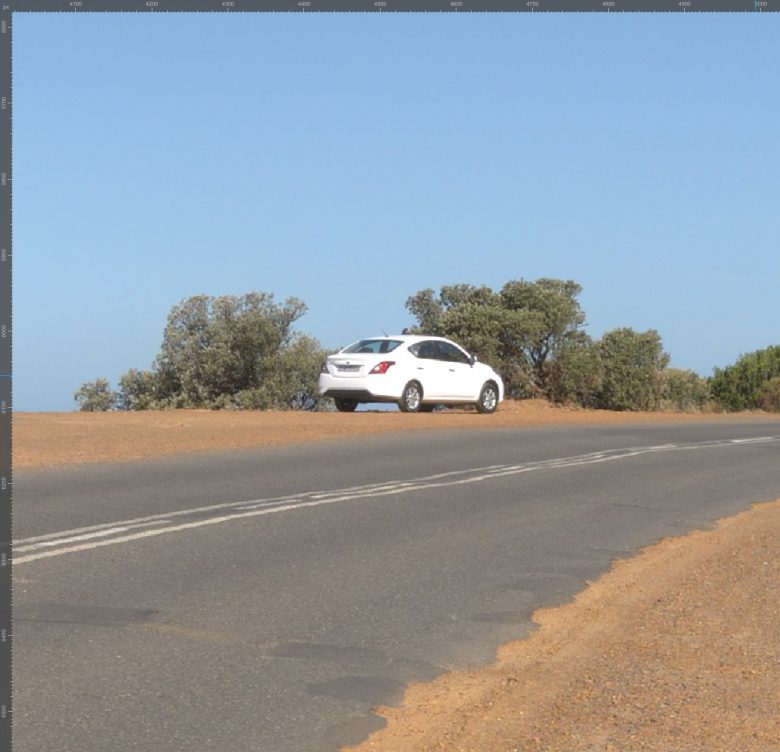
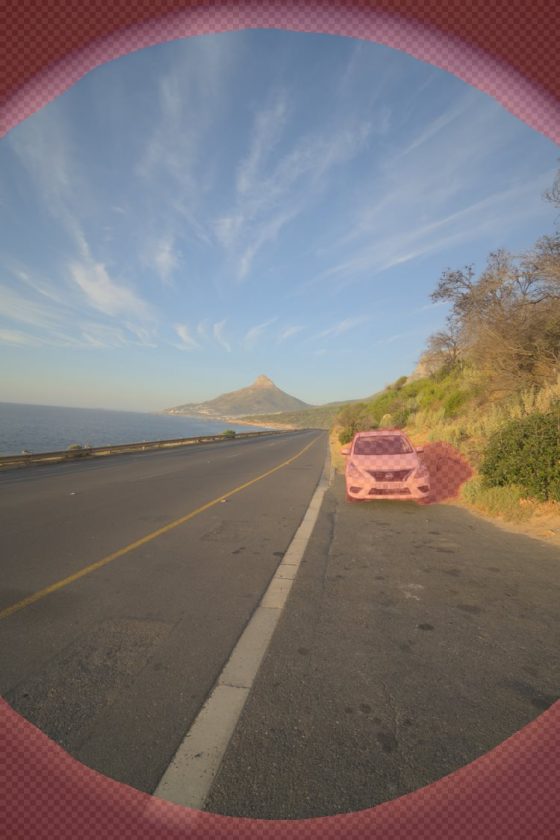
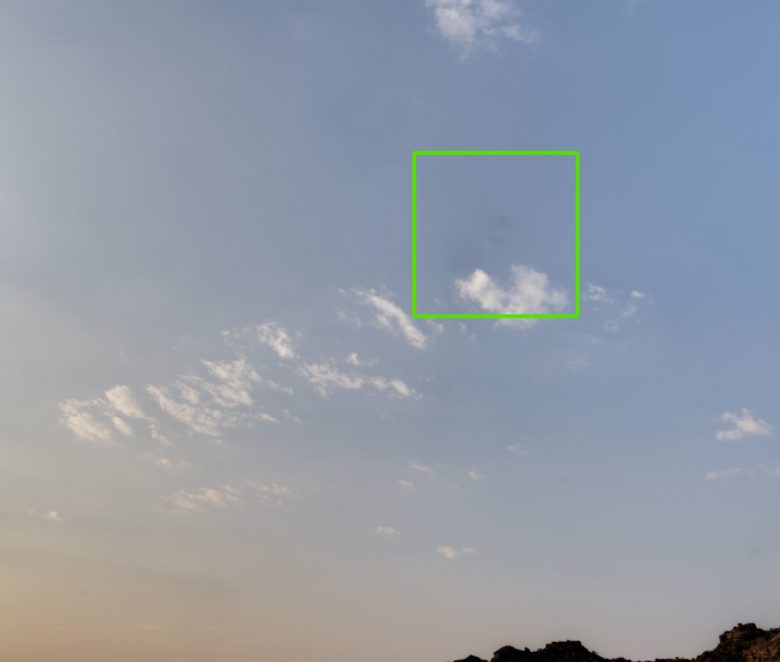
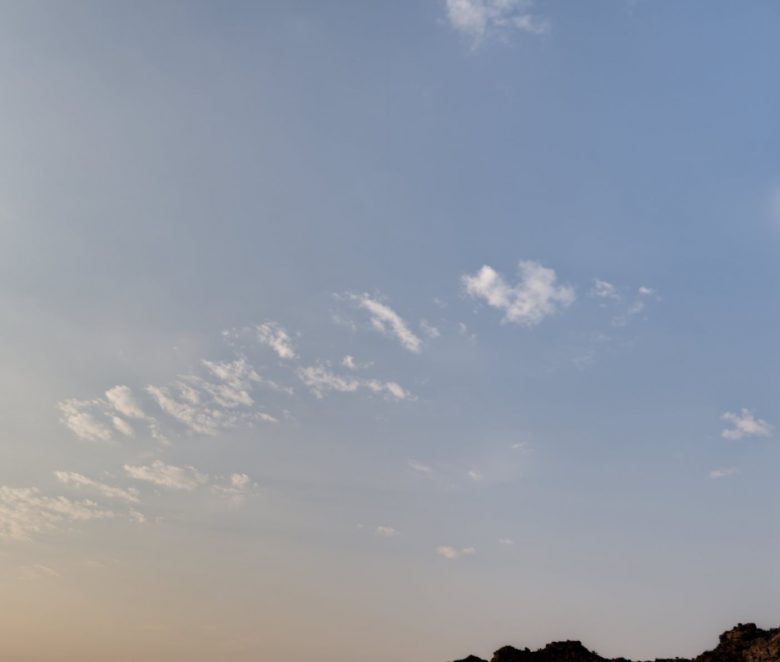
In the same example as shown above, you can actually see the sunlight is quite different between these photos, since I had to wait a few minutes for the parked car to move. But can you tell in the final pano?
Sun still above the horizon 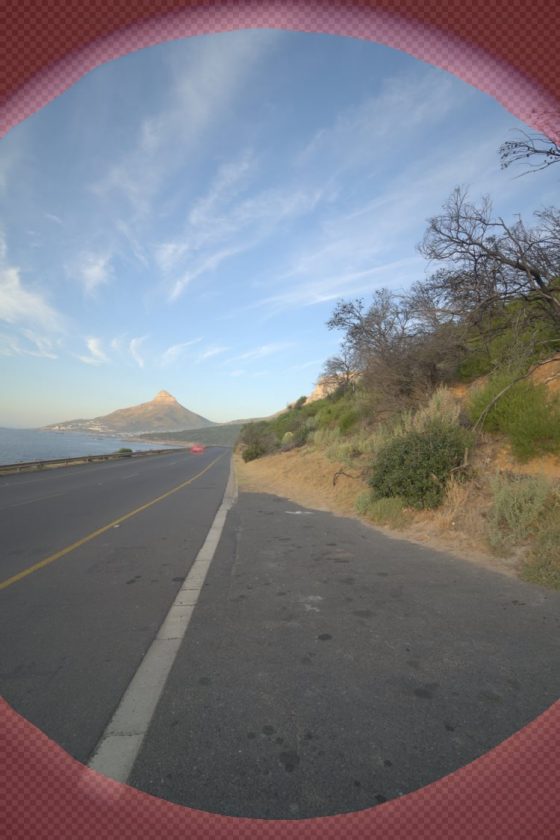
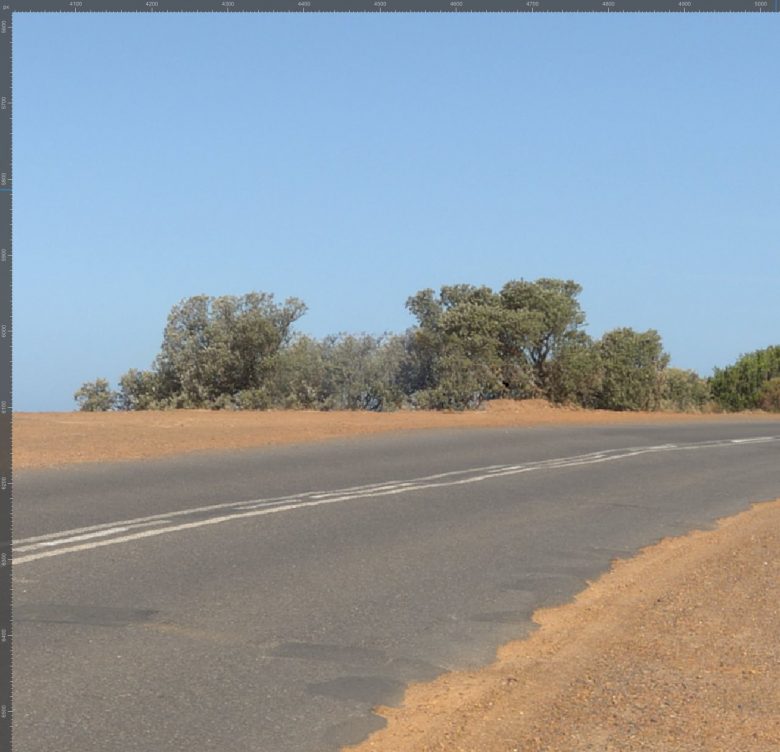
Sun just below the horizon
Delete Moving Control Points
In case it’s not obvious, having control points on moving objects will likely confuse PTGui and introduce visible seams or even massive alignment issues.
If you notice seams in your panorama, the first place to look is your control point table, and sort by distance value. You probably have some control points with high distances (i.e. PTGui sees a disparity between the control point location and its “expected” location if the object were static).
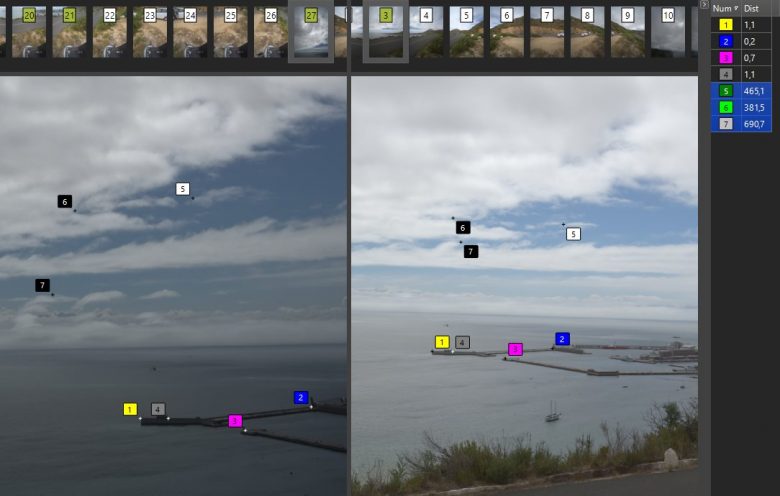
Often simply deleting control points that appear on moving objects is enough to resolve the issue.
In some cases though, such as for moving clouds, it may not actually be bad to have control points between them, it may be your only option, as long as you don’t also have control points between static objects in the same images as well. It’s the relative difference that causes the seams.
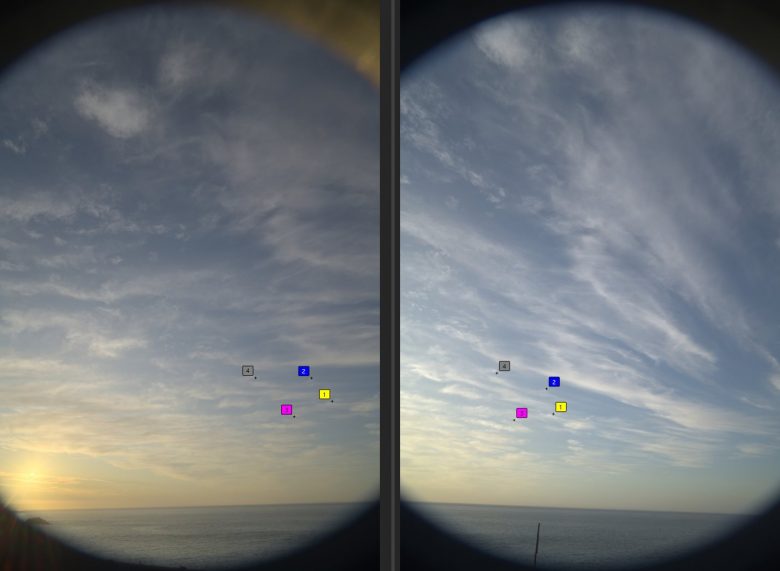
Naturally, this might mean you have some high distance-value control points in your table, but as long as you know why they’re there and how you’re going to deal with them that’s totally fine.
Having control points on moving clouds can help stitch those more seamlessly, just be careful to avoid introducing seams on static things because of that. As usual, masking is your friend, and you can simply mask out everything except the sky for your upward-facing shots.
Manual Layer Blending
In some cases, such as clouds flying by overhead in high winds, you may not be able to avoid some stitching artifacts. These could be obvious seams or strange patches of inconsistent contrast. In one photo, the hillside might be in the sun, but in the next, it might be in the shade of a cloud.
Recent versions of PTGui (v12+) have some different ways of blending images together, and an “optimum seam” finder:
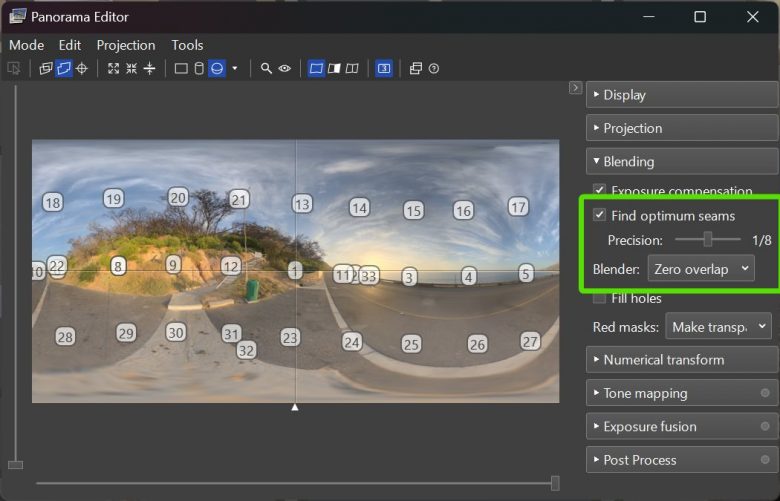
In my experience, the default (Zero-overlap with optimum seams) is usually the best overall, but can sometimes cause dark and bright spots, especially near the zenith or when you have many small masked areas such as lens flares, birds, or moving people.
In those cases, the other blending mode, “multiband” (and without optimum seams), might do better. So I find I often export both a zero-overlap version and a multiband version, then overlay them in Affinity Photo and paint a mask to get the best of both and avoid their artifacts.
However, if you still have problems caused by significant motion, you may even need to blend the images yourself by hand.
To do this, after exporting the HDRI normally, simply check the “Individual HDR Layers” output box to save a separate pano for each image.
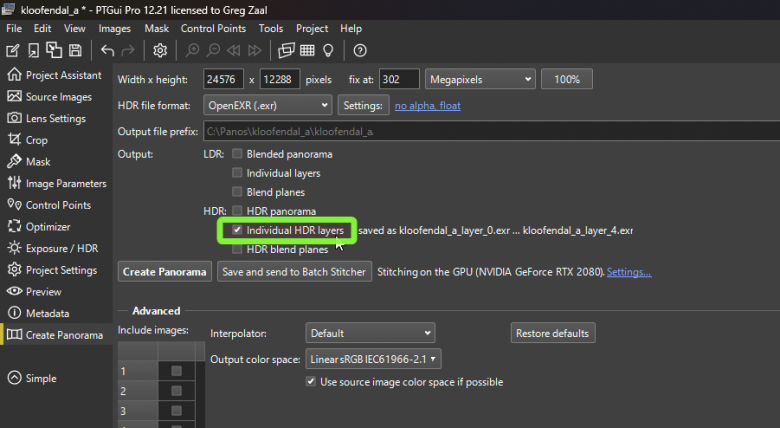
You will probably also want to enable only the images you think you’ll need so that only panos for those images are saved:

After doing this, you’ll end up with a set of images like this:
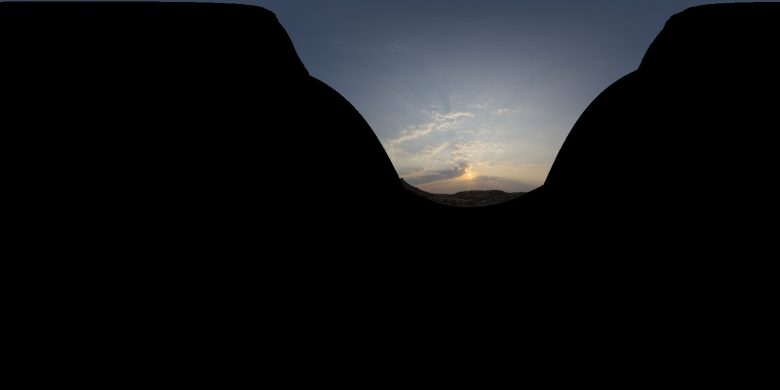
Now you can open the original HDRI in your editor of choice and drag the new layers on top of it.
From here it’s just a matter of manually creating masks for each image one by one until you’ve fixed all your problems.
HDR Ghosting
“Ghosting” is what happens when there is motion within the same HDR bracket set.
One major feature of most professional HDR merging software is the removal of these ghosts. My little script doesn’t have this feature, but most of the time you’ll be masking out moving things completely anyway so it doesn’t matter what they look like.
In some rare cases, however, you might actually want to keep some moving objects in the HDRI. For example, this kitten:
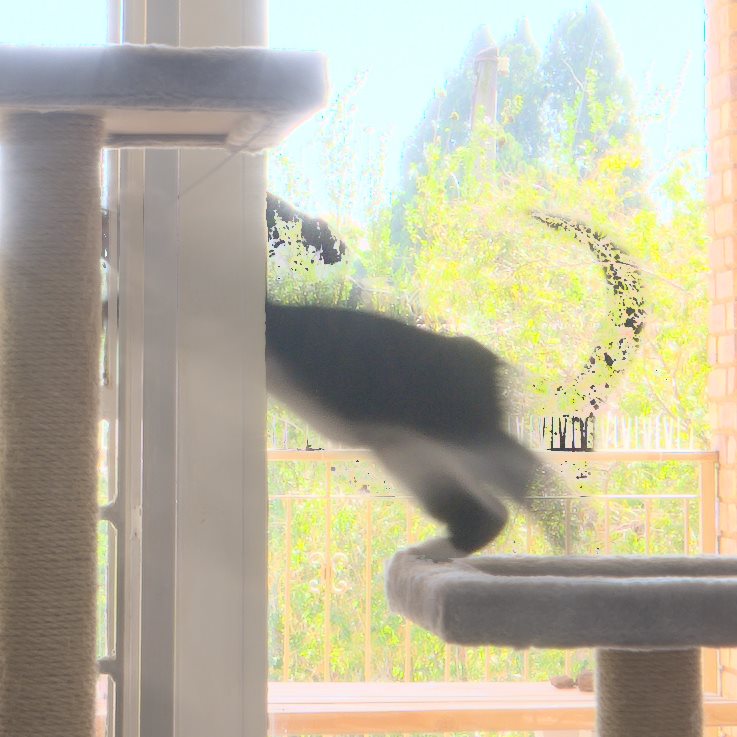
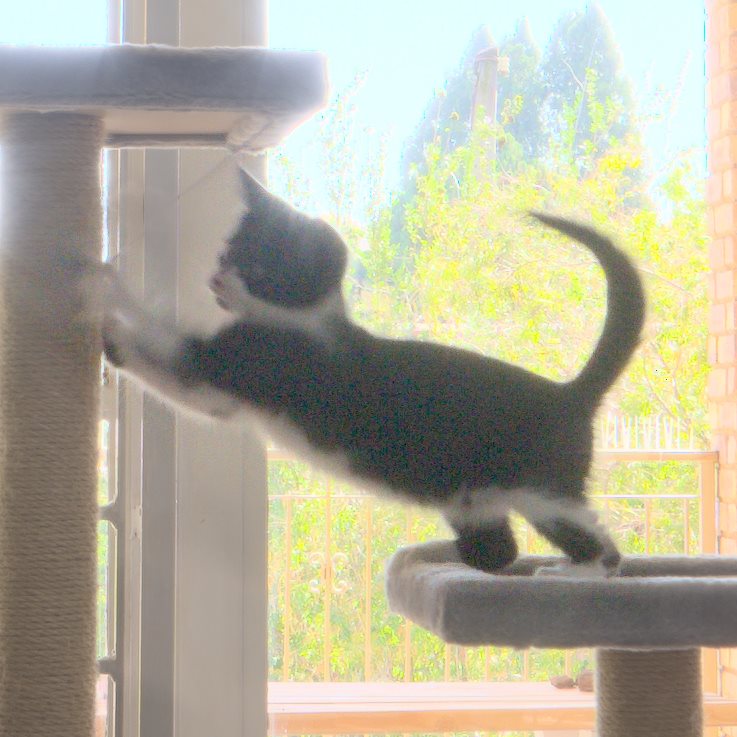
To get this result, I had to manually modify the masks for the compositing nodes in the blend file that my script created so that it used one of the darker frames (hence all the noise) for the whole cat.
If anyone knows of a good HDR merging tool that can output linear unbiased 32-bit images that also handles ghosting, please do let me know!
If you have any other struggles with motion when stitching HDRIs, let me know in the comments below and I can try to help you find a good solution 🙂
Good explanation and good tutorial, I learned a lot, I find it difficult to find a place that looks beautiful in archviz
Hi Greg,
I am a hobby panorama photographer and I’ve been reading your blog posts for a while now. They motivated me to start shooting unclipped HDRI panoramas (several dozen by now).
You mentioned the issue of dark and bright spots when using optimum seam. From my experience this happens at the seam of multiple images where one is significantly darker or brighter than the others. One can check by switching to “no blending”. Again, one can use the mask the push the seam towards a part with less discrepancy – in most cases this resolves the issue.
If not, I can recommend v13 of PTGui with the builtin patch editor. Like in Photoshop or Gimp one can clone part of the image to cover the ugly part.
The problem of ghosting in bracketed shots bothers me, too – and bracketed shots are unavoidable when the sun shines through leaves. Unfortunately, I haven’t found the holy grail either. So far, I have tried to reduce artifacts by selectively disabling some images of the sequence or adding one shot of the sequence as a single image and using the mask tool. Both approaches are very time-consuming.
I tested many programs that claim to have de-ghosting:
* Franzis HDR, Picturenaut, HDR darkroom, Luminar Neo Pro: no hdr output
* Luminance HDR, EasyHDR: de-ghosting does not work or too weak – most motion artifacts remain
* HDRmerge: insufficient file support – no tiff, cr3 or nef files supported
Photomatix Pro 7 (in the paid version) is the only one that gets the job done and outputs a proper EXR file. However, you can only pick one reference image for pathing – thus the patched regions are rather noisy. Unfortunately, the regions are larger than necessary. I got better results with manual masking – but if you want to save time this software might be worth a look.
Thanks for the feedback!
That makes sense. For now I haven’t upgraded to PTGui 13 since fixing the patches in Affinity afterwards feels like only slightly less effort, not worth the upgrade cost for me.
I used Photomatix many years ago as well, and can agree the deghosting was fairly decent. The noise is likely not easily avoidable, since it presumably uses the darker frames to avoid clipping by not doing any HDR merging at all in areas where there would be ghosting. A reasonable solution, that maybe I can try to duplicate in my merging tool.