Fabulous Fabric
One of the areas lacking in our texture library is fabric materials.
Some years ago, Rob created some photometric stereo scans (what we’re starting to call “light scanning” which is less of a tongue twister and harder to confuse with photogrammetry) of fabric materials, which you can find here: https://polyhaven.com/textures/fabric?a=Rob%20Tuytel
This is a good start, but if you’ve ever visited a fabric store (or taken a look inside your closet) you know there are hundreds of types of fabric that we’re missing.
Photogrammetry is usually our primary method of capturing surface geometry and building textures, however, it has its limitations. When there is very little (relatively speaking) height variation in a surface, say for example a polished wooden tabletop, or any fabric, then you end up with a lumpy mess where the photogrammetry tool “imagines” height details from the image noise or simple errors in calculation.
Essentially, you have to throw away the geometry and use the photogrammetry software as a glorified panorama stitcher, and then create the normal map/height map some other way.
Going with the age-old “bitmap to material” (B2M) technique of fudging the albedo map until you get something that looks a bit like a height map is something we want to avoid.
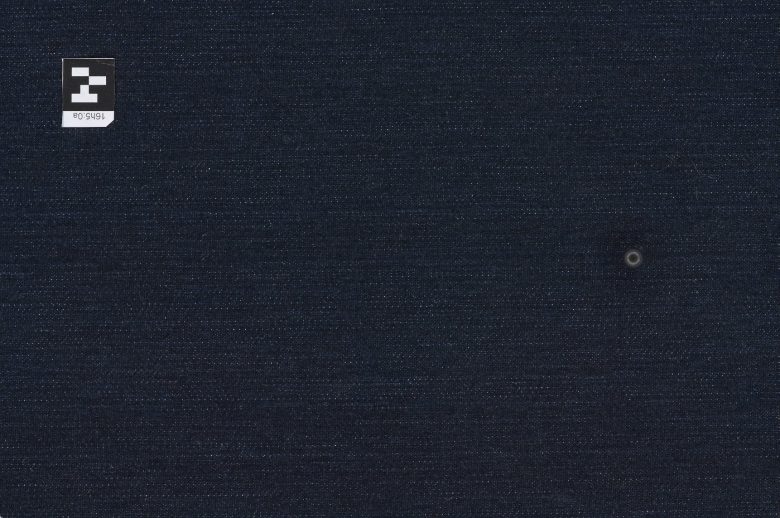
A more accurate method is to keep the camera still and capture multiple images with different light angles, feeding them into a tool like Details Capture to compute the surface normals based on these known light angles.
It, too, is an approximation, as things like material color, reflectivity, and translucency can throw it off, but the results are far better than B2M or photogrammetry.

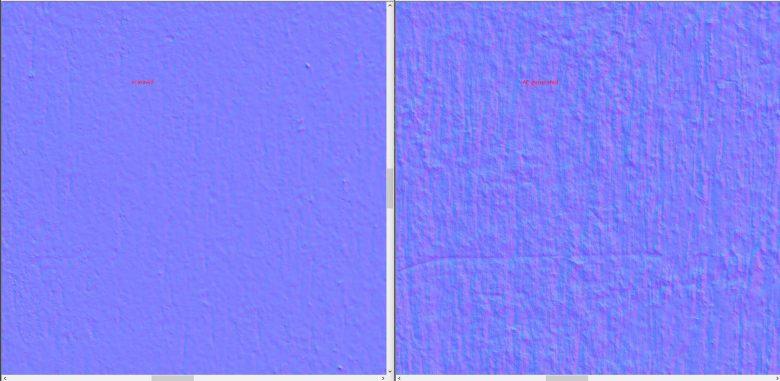
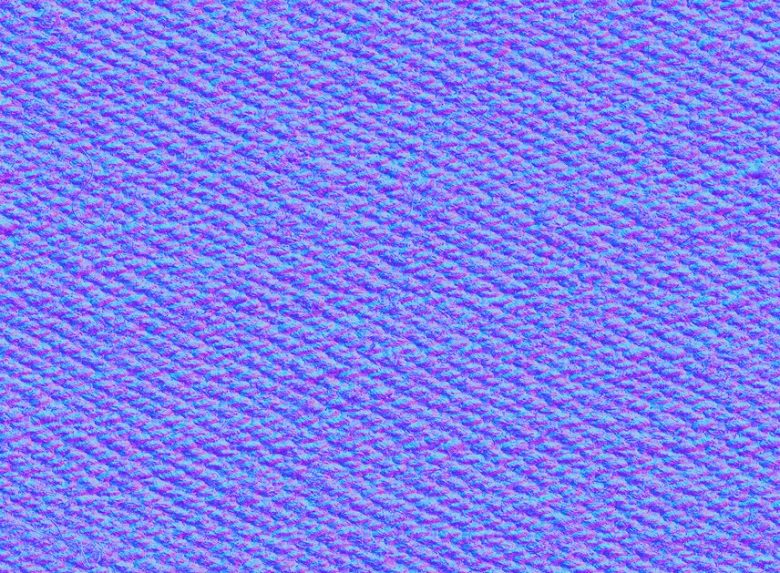
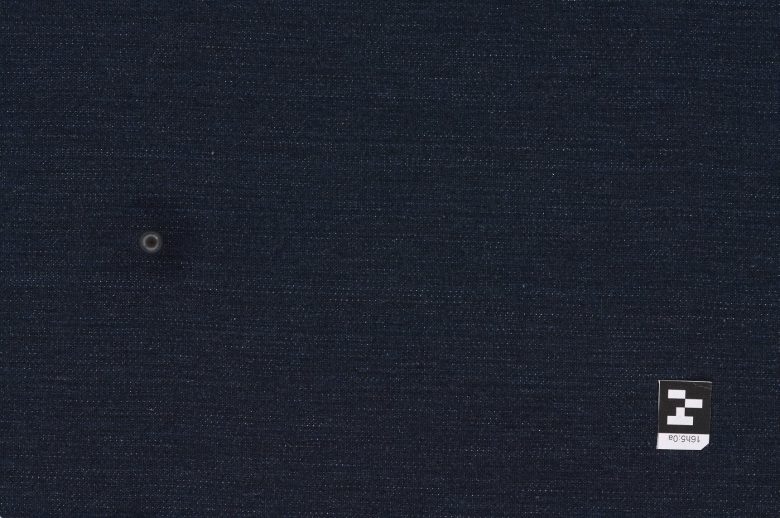
B2M (worst) 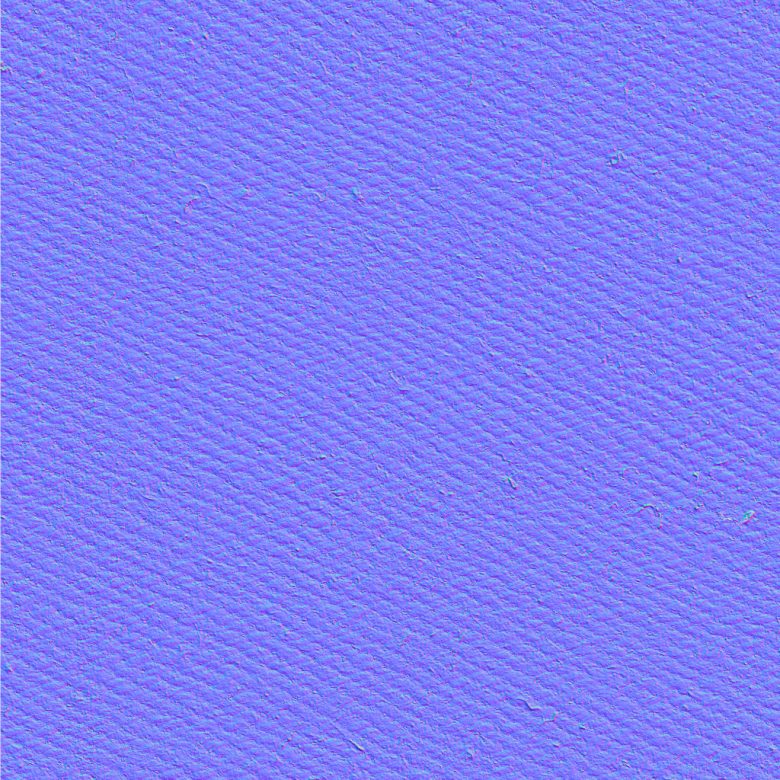
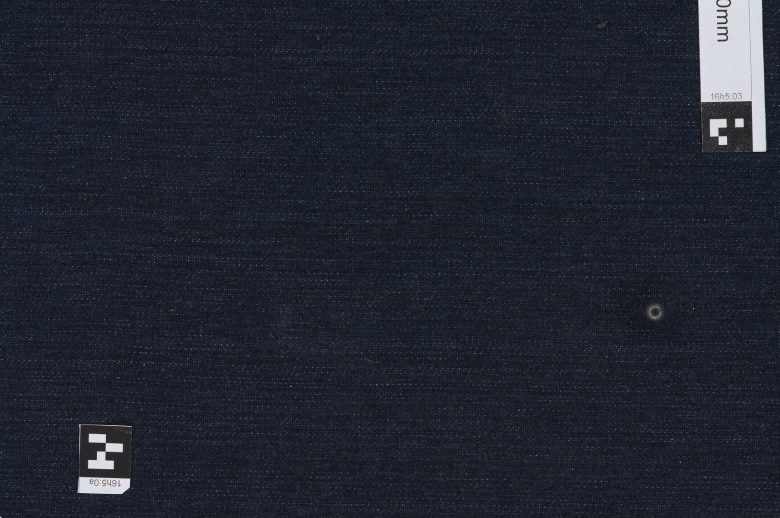
Photogrammetry (eh…) 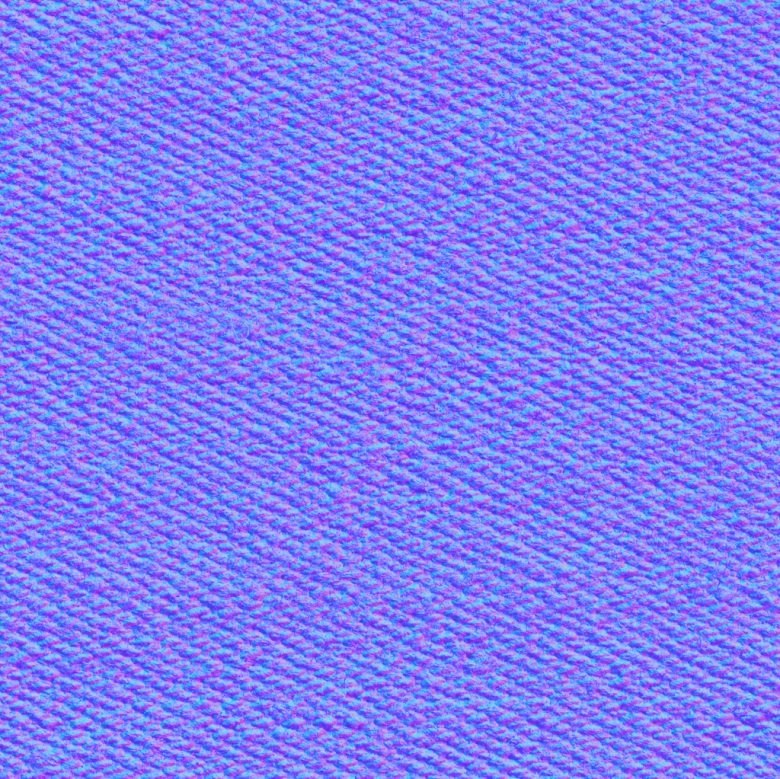
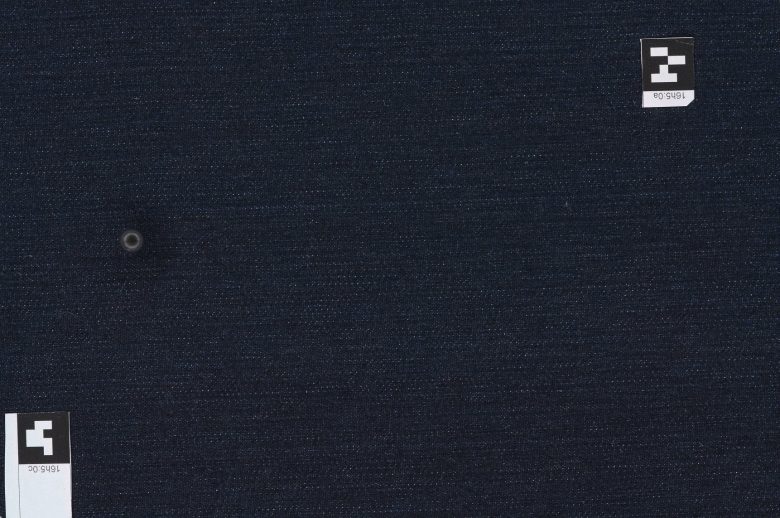
Light Scan (pretty great)
One challenge with light scanning (photometric stereo) is that you’re limited by the resolution of the camera, since the camera doesn’t move around like it does in photogrammetry, rather the light moves instead.
Even the highest resolution consumer cameras don’t reach 8K on the vertical axis.
To get around this, you can shoot multiple light scans in a grid pattern with a bit of overlap, process them as separate textures, and then stitch them together again like a panorama. Doing this in a 2×2 grid with our camera results in slightly more than 8K resolution.
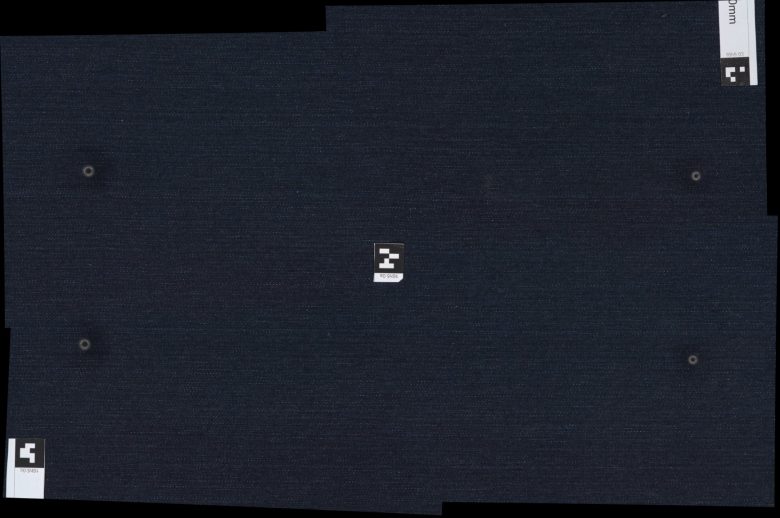
PTGui, the software we use for stitching HDRI panoramas, happens to also work amazingly well for this task too as it’s designed to counter distortion curvatures, blend seams dynamically along natural edges in the image, and work with many gigapixels of data. Its JSON-based project files (or templating system) also make it trivial to stitch the same panorama for both the albedo and normal maps.
Side note: We played around a bit with pixel shift as well which can theoretically reach about 12K resolution without moving the camera, however, this tech is very sensitive and we couldn't reliably capture sharp images. In many of our tests, the combined pixel shift image was slightly more blurry than even a single of the lower resolution 16 brackets despite having more pixels. We should be able to solve this with more rigid setups, but then we also have to deal with inconsistencies in flash exposures as well. That could be solved with high-power video lights, but we moved on to the panorama method before investing in this.
We’re starting to design a workflow around this to use at scale, so we can capture dozens more fabric materials and process them as painlessly as possible. Once we’re happy with it, we’ll document the workflow on our wiki (like we have all our others) and share it for you to learn from and improve upon.
We’ll likely take the last few months of this year to plan and test things further, and then begin raiding fabric stores early next year.
Wood Workshop Visit
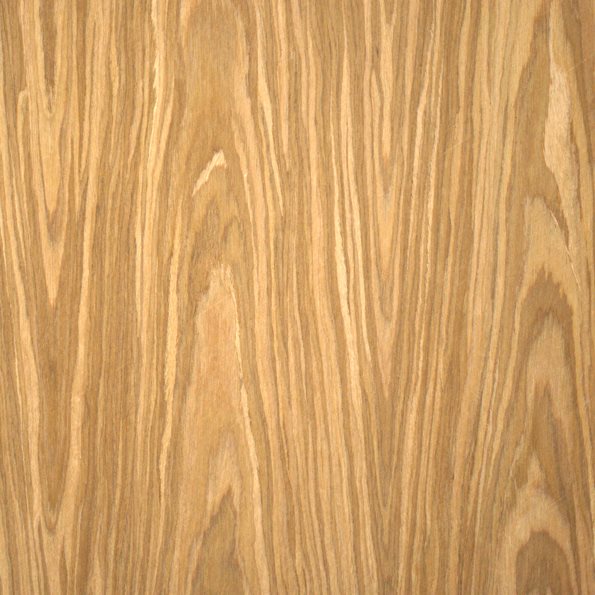
Wood, one of our most popular texture categories!
Wood textures are something you can never really have enough of. There are dozens of different species commonly used for furniture and construction, and a seemingly infinite number of ways to lay out planks in patterns for flooring or fences. And what about stains and finishes, roughness and polish, live edge and composites… ?
While more than 10% of our texture library today is made up of wood materials, I’d say we haven’t even scratched the surface.
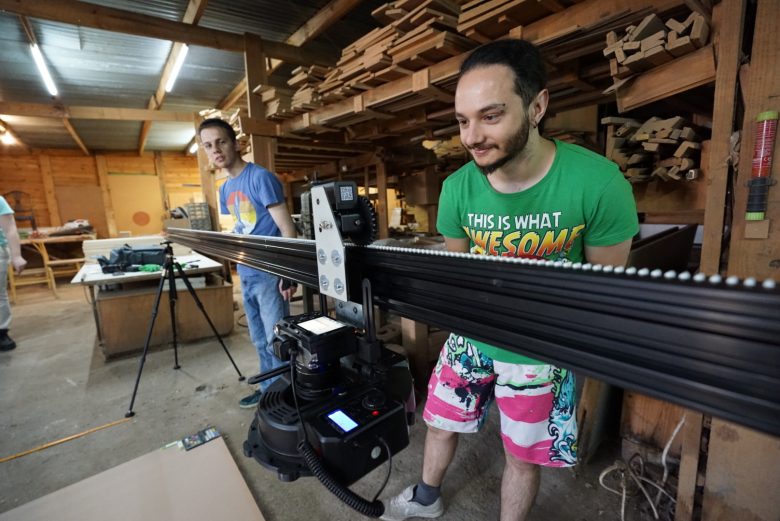
This is actually the primary reason why we built the C-monster, and we finally got to put it to its intended use last week:
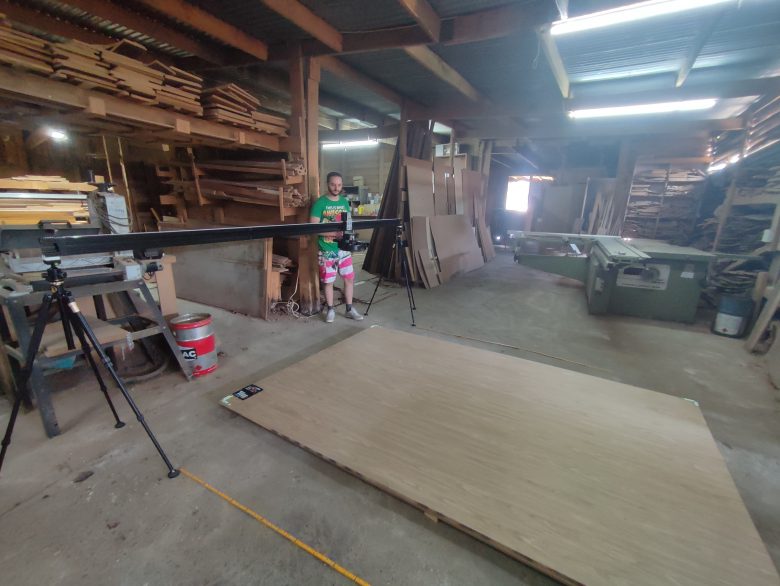
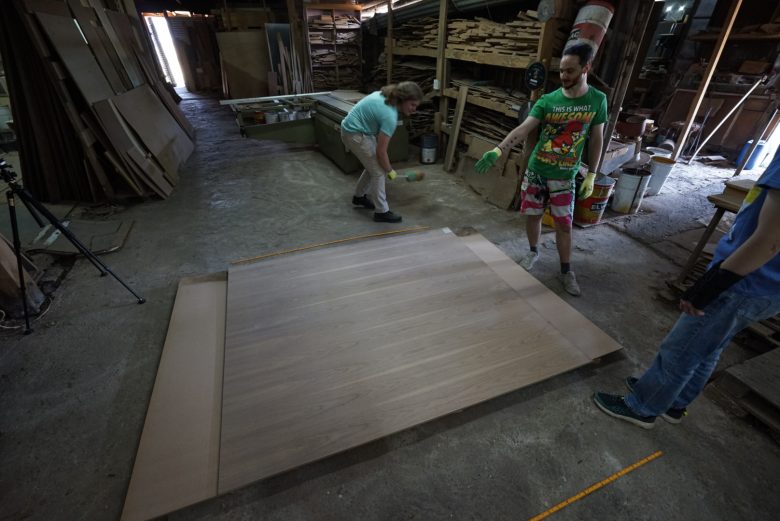
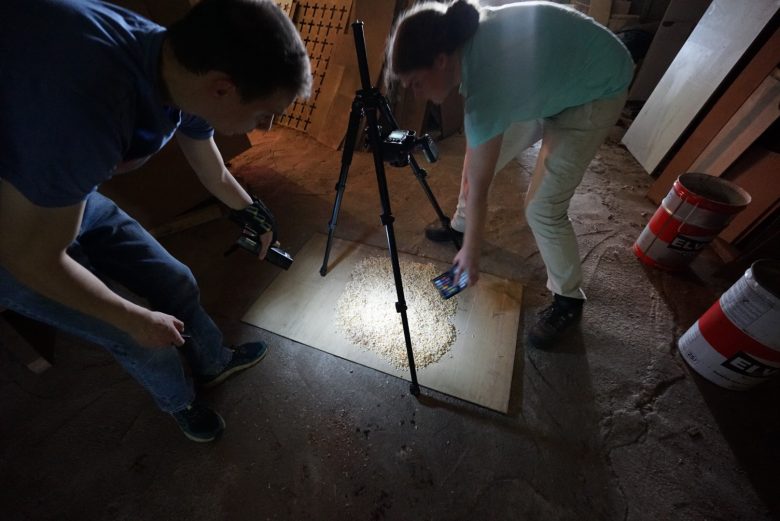
We scanned a few veneer boards and piles of sawdust, and will begin processing them later this year when our to-do list is a little shorter. If those work out well, we plan to return to scan a few more types of wood.
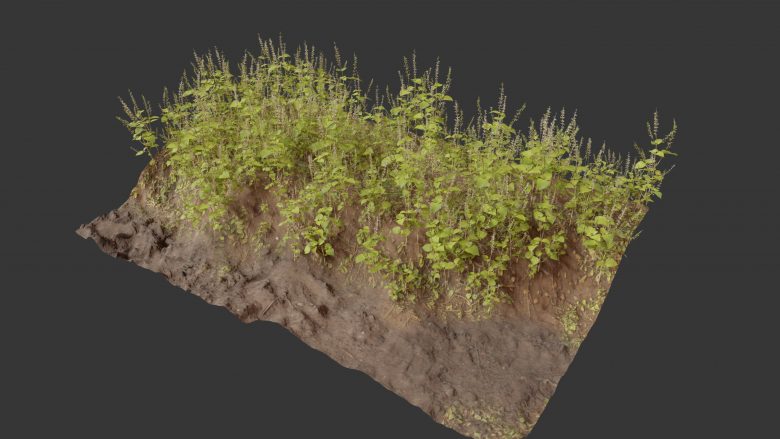
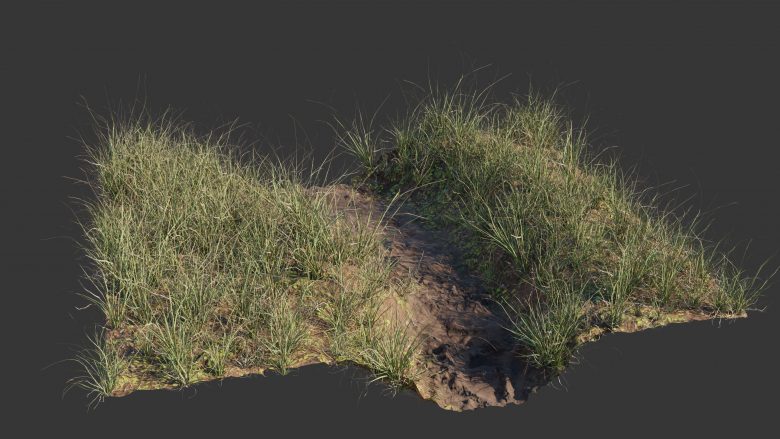
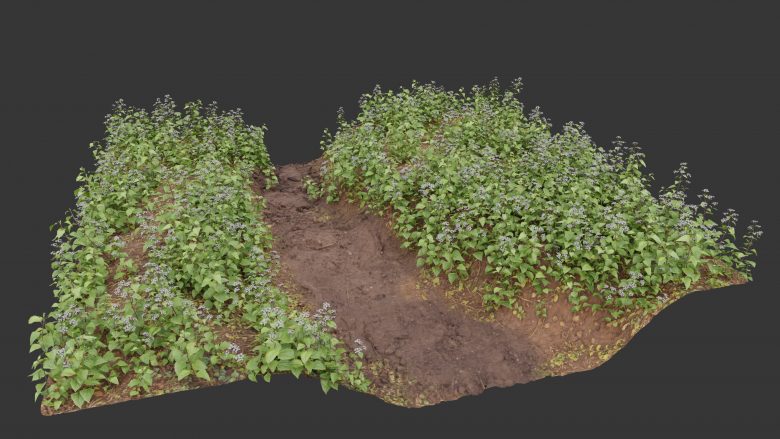
Namaqualand
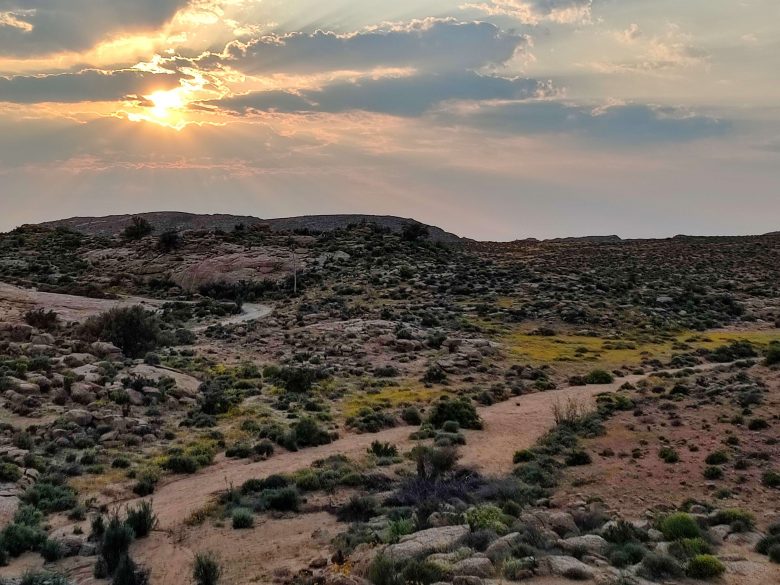
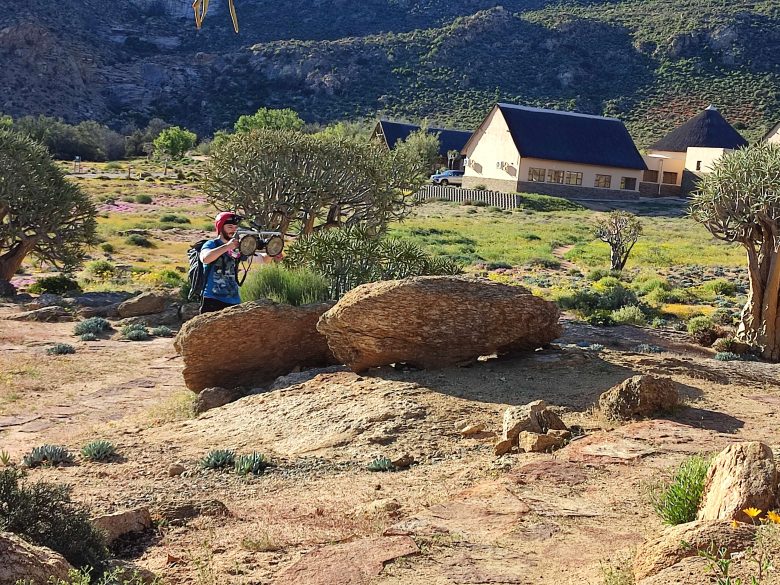
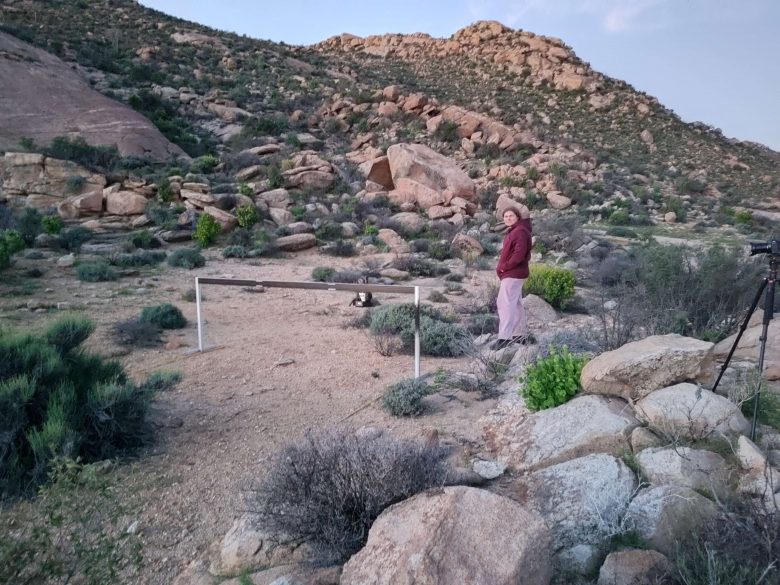
Our trip to the desert last month was a huge success!
It was a bit more lush than we were expecting, but that also meant we could capture a lot of nice little flowers to make things more interesting.
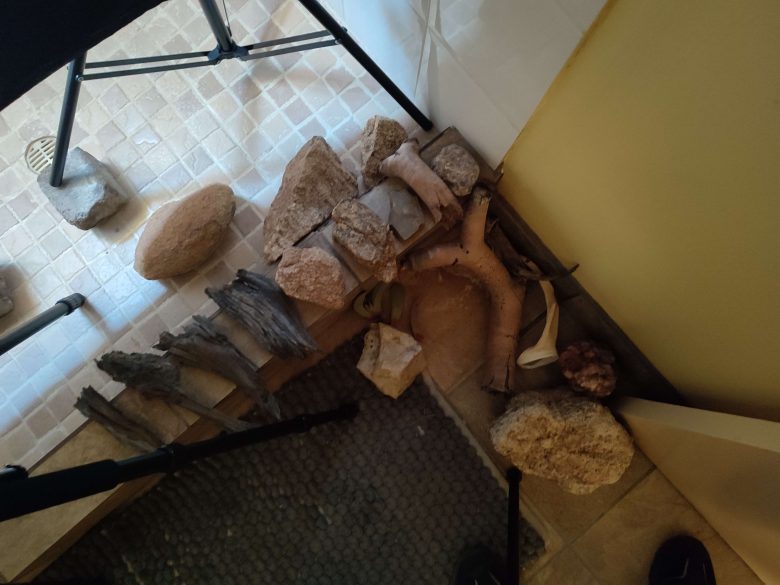
We haven’t yet parsed through our data completely, but I’d estimate we have about 50 good assets waiting for us to process.
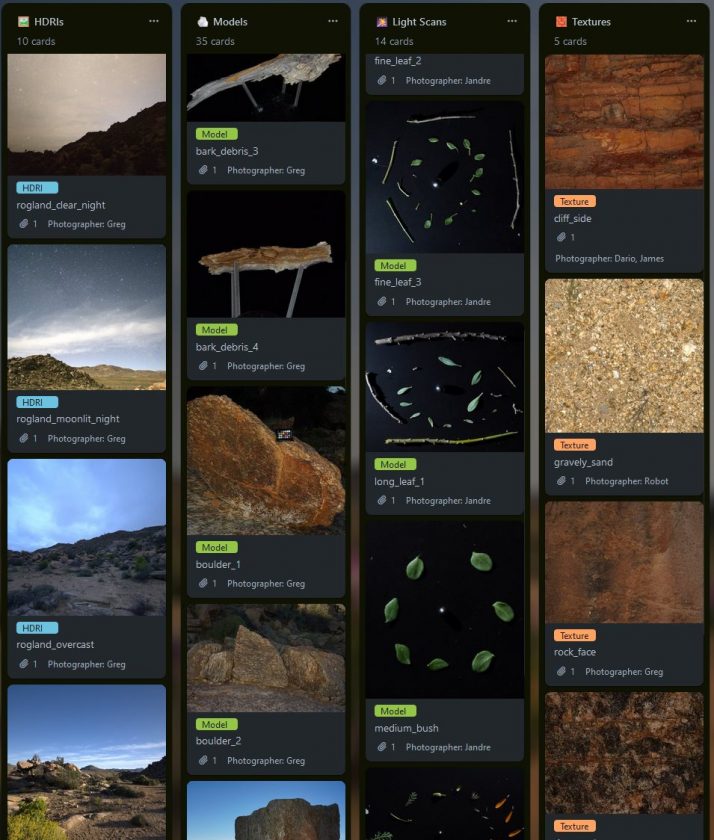
We’re also working on a behind-the-scenes video documenting the whole trip, which should be a fun watch 🙂
Sadly we need to finish up our other projects before we can start work on this collection, but I’m already looking forward to seeing the results.
Little Falls
Speaking of other projects, Little Falls is next on our list at the moment to finish up. Progress is slow but steady, as we’ve been preparing for another top-secret mission you can read about on Patreon 🙂
In the meantime, here are some tasty renders that Rico threw together with the assets he’s working on:
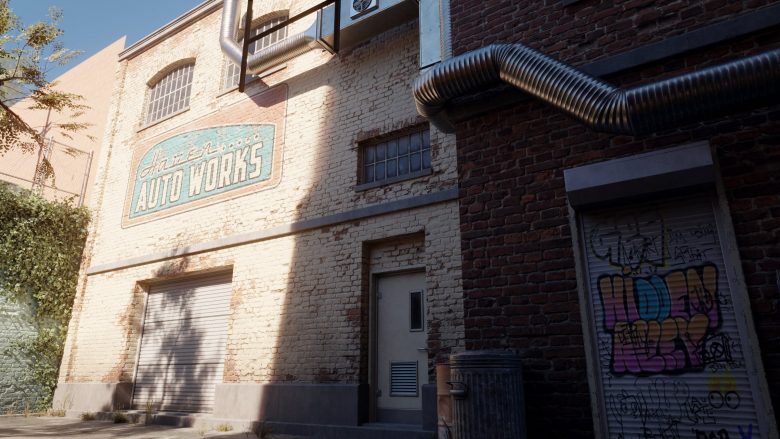
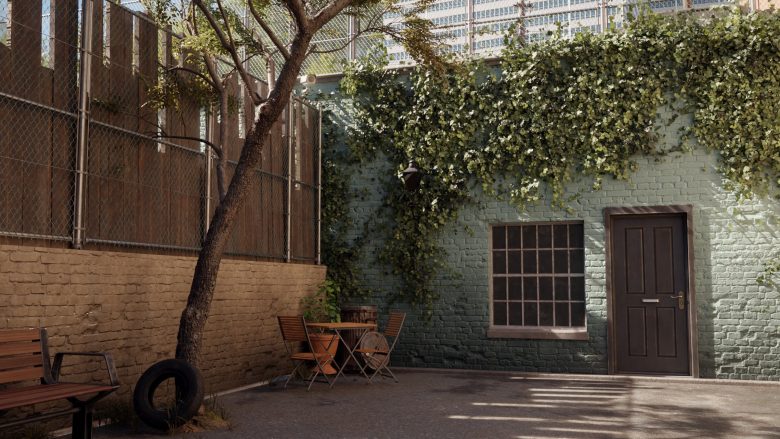
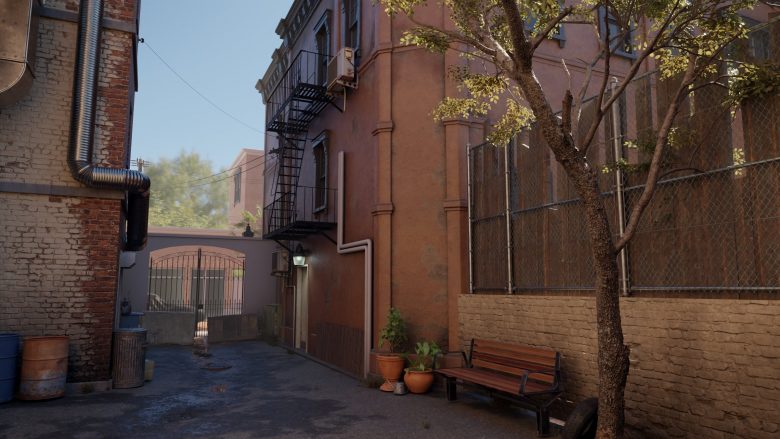
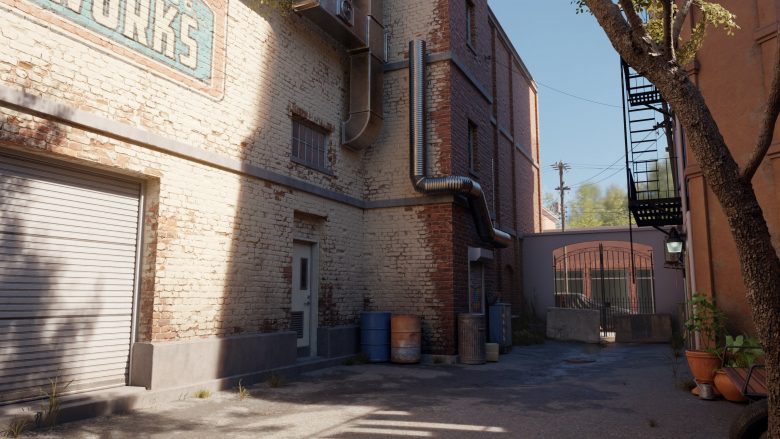
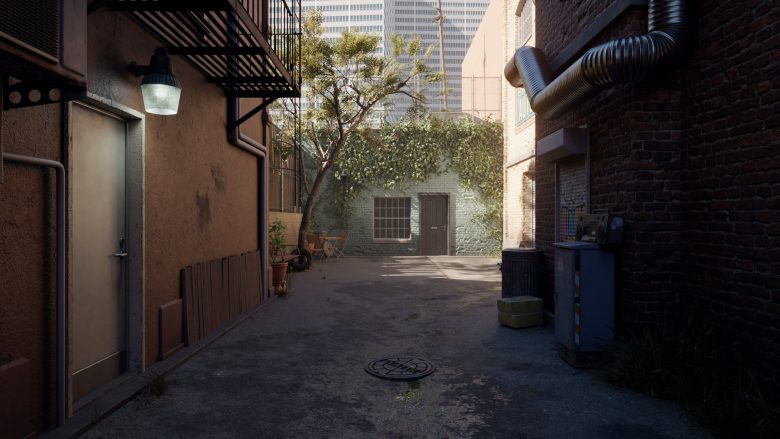
Hidden Alley
James’s progress on the Hidden Alley scene is coming along great! We should have some more to share soon, but for now here are some sneak peeks:
Rigging Standards
You may have noticed a number of our models have been updated with rigged versions, and affixed with a bone icon in the library:

This is thanks to efforts started by Yann Kervran, who has been donating his time to help us rig existing models and come up with good standards for future rigs.
A focus for the rigs is to try and be software-agnostic and unopinionated, allowing changes to control elements without needing to redo any mechanical parts of the rigs.
Every animator likes their rigs to work a certain way depending on the motion they have planned, so our approach is to create a rig that is broadly useful, but still adaptable.
Collection Pages
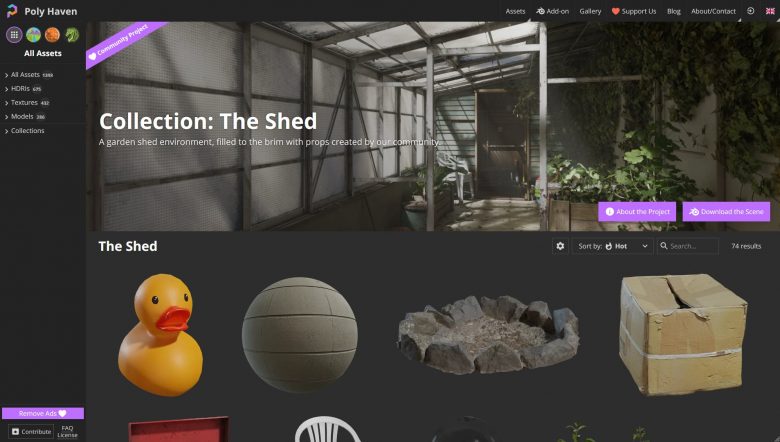
Finally, I spent some time improving the layout of our collection pages, adding a nice image banner and some links for each collection.
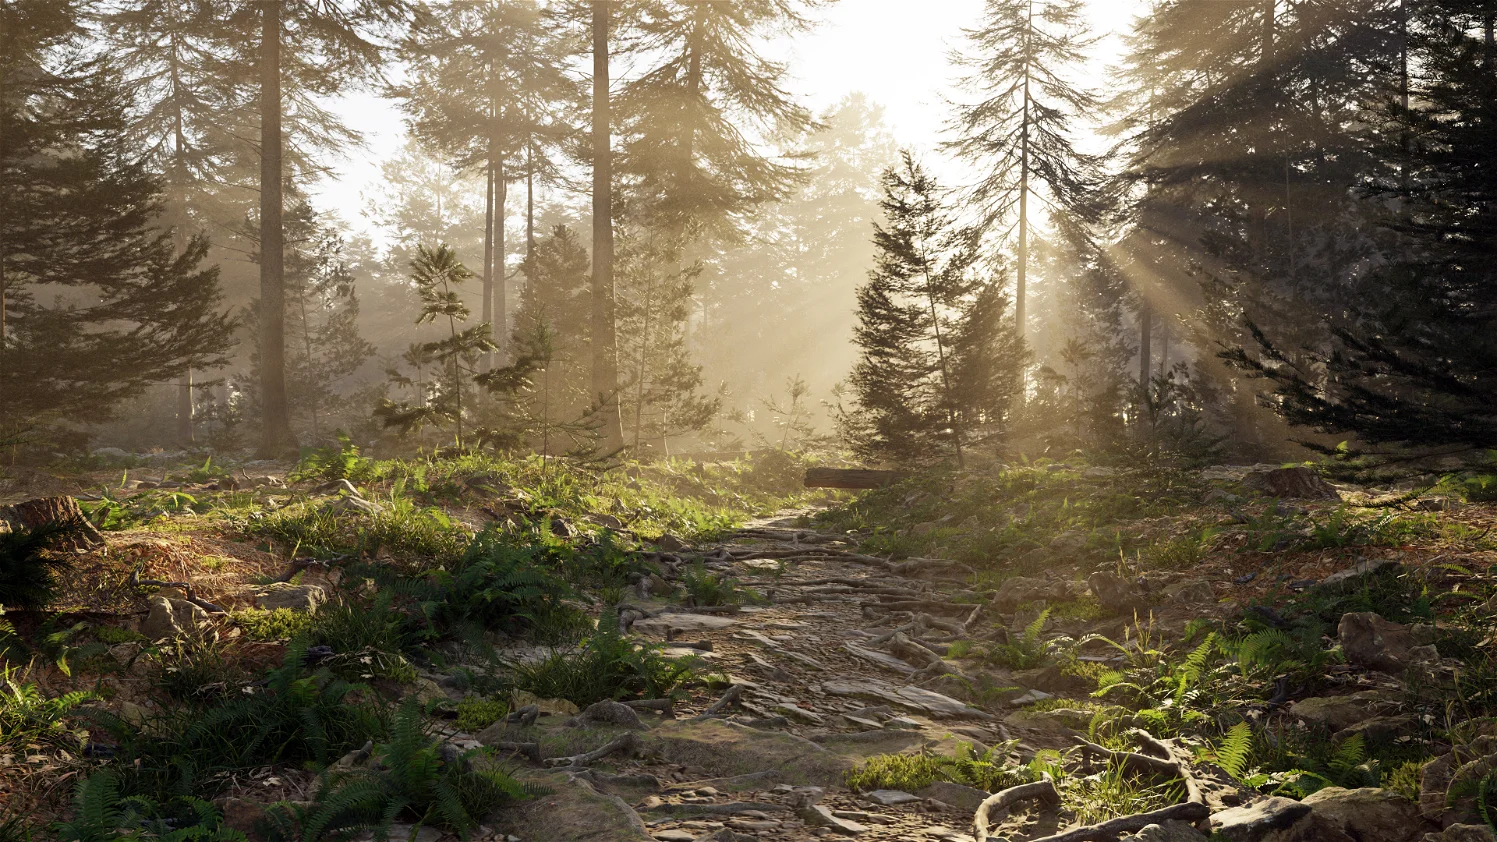
You may also notice a brand new collection: The Pine Forest.

This combines several of our pine and fir tree assets, plus related textures and rocks, into a convenient bundle, also making the scene that Rob created for the project available for download.
Well that’s it for this Dev Log! Next time we’ll talk more about our top-secret mission and share more progress of all our ongoing projects 🙂